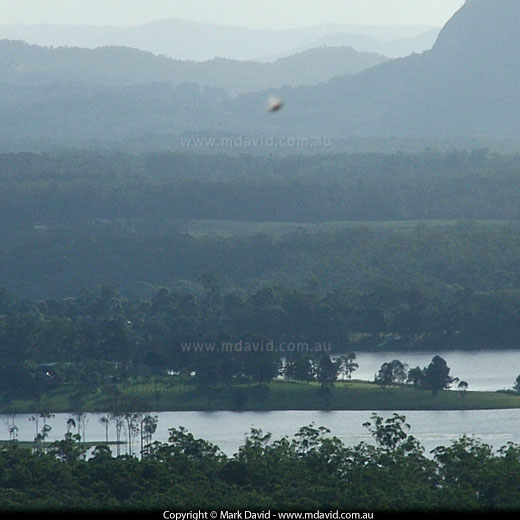
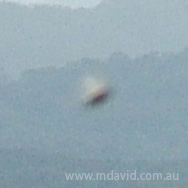
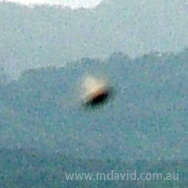
I take a lot of digital photos and most of them lack any surprises. However when I
got home after this photo shoot and downloaded the pics to my computer I noticed
something odd. I’d call this a UFO in the true sense of the word — an
unidentified flying object. But does that mean it’s an alien spacecraft? Well, a
bunch of blurred pixels like this one isn’t enough to convince me of that. So
then, what is it?
On a trip to south-eastern Queensland I noticed some media attention about a bunch of
UFO reports. So that’s what made me decide to put this photo online. I too, took this
photo in south-east Queensland. I have no idea what it is, and it reminds me a bit of the
classic UFO image. But I don't think it’s a good enough photo to draw any conclusions
— like most UFO photos! For starters, it’s out of focus. Second, the object is
too small in the overall frame to make out what it is. But there are a few things I can
state right away.
1 - The image is not a fake
Well, you’ll just have to take my word on that. I know that’s not going to
be enough for some people.
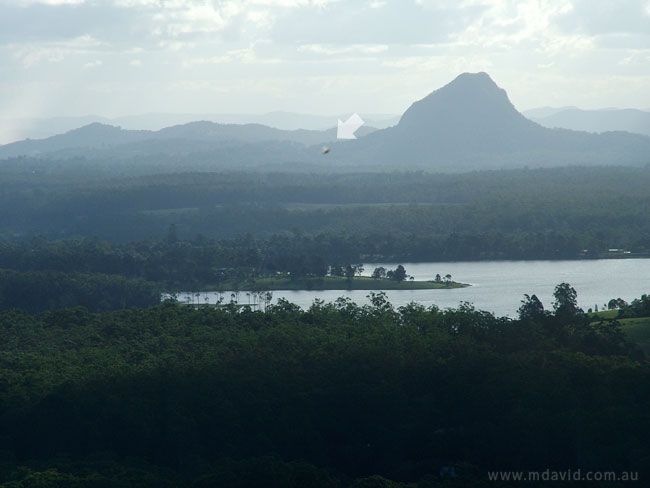
Above: The full (uncropped) photo reduced in size.
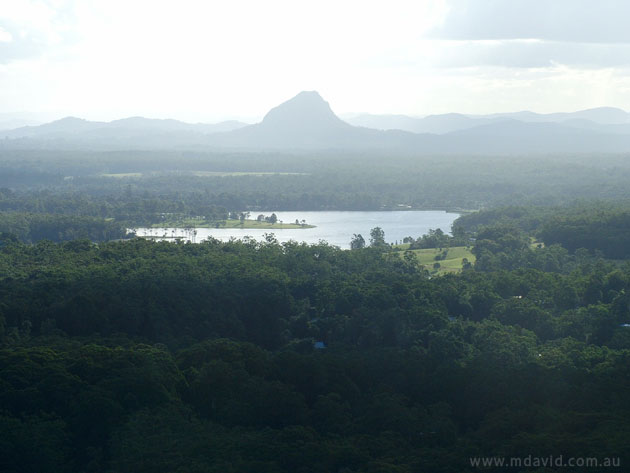
Another photo taken with the same camera at the same lookout,
about 2 minutes earlier. Nothing odd in this one
2 - The photograph was taken late afternoon, looking almost towards the sun
That could be significant. Aiming a camera towards the sun can produce artifacts called
lens flare. That can create spots which might explain all or part of the object in the
photo. Because the camera was aimed close to the sun at one stage during my sequence of
shots I did get some lens flare in some of them, so I’ll reproduce one of those lens
flare shots below. I’m doing this to be thorough, but you’ll see that the lens
flare blobs looked quite different to what was in the ‘UFO’ shot. Still, I
can’t rule out lens flare completely.
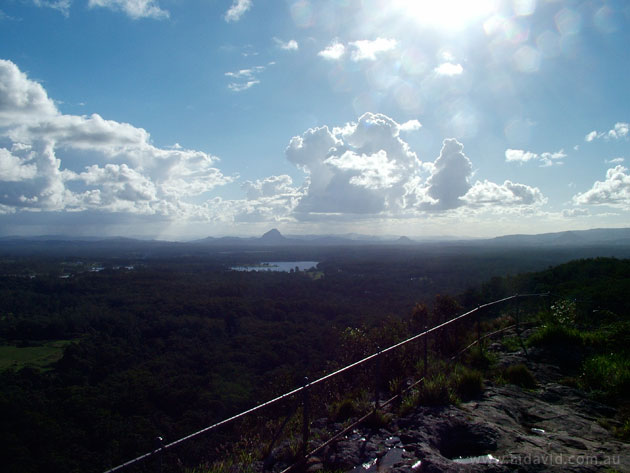
Above: Taken about ten minutes earlier, this photo (uncropped) clearly
shows lens flare across the top-right edge. Notice that the individual blobs of lens flare
are formed into the 5-sided shape that matches the 5 aperture blades in the camera lens.
This makes them different to the blob of light in the ’UFO‘ pic.
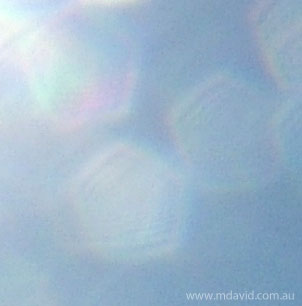
100% resolution crop taken from the photo above,
showing some of the 5-sided blobs of lens flare
3 - No other photos I took that day, including photos taken of that same area and in
the same general direction, had a similar object
So that kind of rules out something being stuck to the lens
4 - The object is closer than the distant hills
I can say that with confidence because the dark area underneath the object is darker than
the haze would allow if it was more distant than, say, the far edge of the lake. However
that doesn’t rule out the possibility that the object is something very small and very
close to the lens.
Why didn’t I see anything until I downloaded the photo?
Even if it was a genuine flying craft, it’s not too hard to figure out why I
didn’t see it. When I used to take photos with that digital camera my eyes would be
focused on the small LCD display on the back of my camera. If something small like the thing
in the photo was zooming past it would be almost impossible to see it on such a small display.
Therefore I’d miss out on seeing anything that didn’t hang around.
Enhancing the image to bring out details
I use Photoshop every working day of my life but I’m no expert in forensic
photography. So I’m reluctant to manipulate the image. In other words, I don’t
want to change the pixels in the photo.
However one thing I can do without allowing my own bias to get in the way, is to use
Photoshop to enhance whatever information is already in the pixels.
To better see what’s going on, I’m showing the image at 500% resolution,
which is enough to let you see the individual pixels. I’ll stress that when you show
different forms of image enhancement like this, features like light and shadow, concave
and convex, can appear to be confused. These images are therefore only helpful to define
outlines between different tonal values and you should be careful about interpreting too
much more than that.
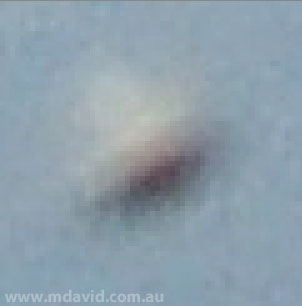
The original image, shown at 500% resolution
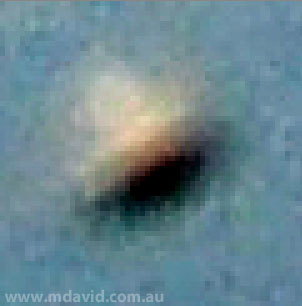
Auto levels applied. This effect enhances the shape of the base but kills off any
fine tonal detail.
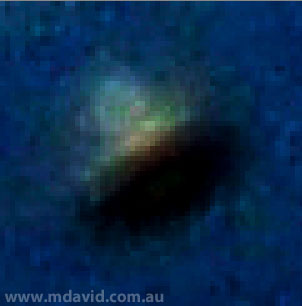
Blending mode 1: In Adobe Photoshop, you can duplicate a layer and then blend the
resulting duplicate with the orginal in different modes such as normal, multiply,
difference, and so on. This will not rearrange the pixels or change the shapes, but it
will allow subtle changes in tonal values to become apparent. Another good thing about
using blending modes is that it is ‘non-destructive’. In other words, the
pixels are not altered or rearranged and so the image can be brought back to its exact
original state
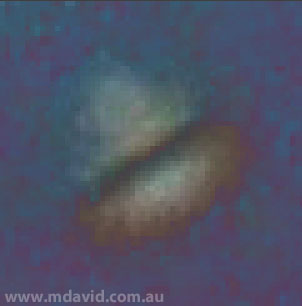
Blending mode 2: This version helps define the ring-shape at the base.
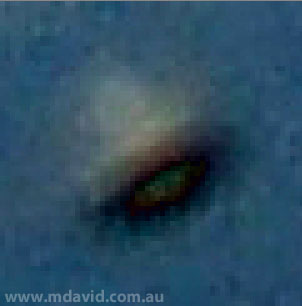
Blending mode 3
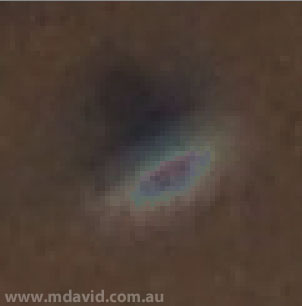
Blending mode 4: A small amount of detail in the base
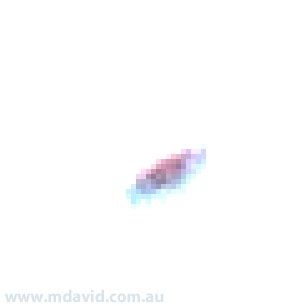
Blending mode 5: The centre of the base is the only part visible in this blending
mode, however it shows some interesting definition.
So what is it?
My best guess is it’s something between half an inch and twenty feet wide, at a
distance of anywhere between about a foot and a couple of miles — which doesn’t
really narrow it down very much does it? Hey, maybe it’s an alien spacecraft, but
unfortunately the odds of that being the case are not great. Sending the pic to a bunch of
friends, the suggestions that came back include the following:
- An alien spacecraft
- Some sort of object descending at high speed from the upper left to the lower right
of the photo
- A curled-up leaf blowing past at the time I took the photo
- A hat. I think I can rule it out being a hat because of the very high altitude of
the object but there’s no doubting the fact that the shape looks a whole lot like
a hat
- A weather balloon. If a weather balloon was being launched then it might have
distorted into the elongated shape, which combined with a blob of lens flare, could
account for the bell shape. That might be unlikely, but it has to be no more unlikely
than an alien spacecraft!
- A radio-controlled model glider. I think I can rule that one out too. I would have
seen the operator of such a glider and I would also have seen the glider
- An insect flying close to the lens
Summing up
The annoying thing about most UFO pictures is that they always seem to be out of focus
and distant. Unfortunately, this pic is no exception. Personally I believe in the possibility
of alien spacecrafts but I don’t believe this photo proves anything at all. And sure,
this could all be one intensive piece of analysis of a photo of an insect blowing past the
lens.
However I’d be kidding myself if I said I wasn’t intrigued by the image.
If anyone has any ideas about what this photo is of, I’d love to hear from you.
So far, since posting this web page I’ve heard from a few people who claim to have
seen UFOs in that same part of Queensland (Sunshine Coast and Sunshine Coast hinterland),
a few others in different parts of the world who have seen similar objects in the sky, and
a couple of others who thought it was an insect.
Here are some details about the photo if you’re interested:
Where was it taken? From the lookout on top of Mount Tinbeerwah, near
Tewantin in South East Queensland
Time of the day: Approximately 4 pm
Date: April 17, 2005
Direction of photo: Approximately west
Camera shutter speed (according to EXIF data): 550th of second
Want more info? The technically-minded can click
here to see a screen grab of the
photo’s EXIF data.
