Here’s another easy primer for people just starting out. Understanding
the differences between the main causes for blur will give you a huge advantage
later on.

Two kinds, and two causes, of blur added some interest
to this picture of a Little Wattlebird.
Okay, before you start reading this, I’ll point out that most of you will know
this stuff already. But for those of you who are just starting out and feel daunted by
how complicated photography seems, then this is another primer article written just for
you. Sure, it may look a bit obvious when you read it, but being clear about these
concepts will give you a mighty big advantage.
Distance
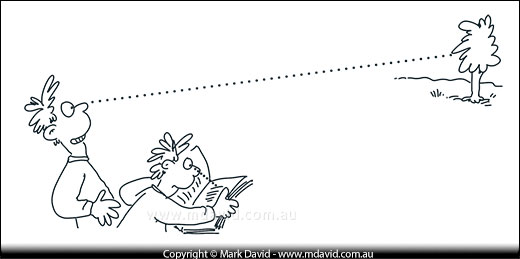
When you look at something way off in the distance, and then suddenly glance at a
page in a book right in front of you, your eye rapidly changes focus from the distant
to up close. Cameras need to do the same thing.
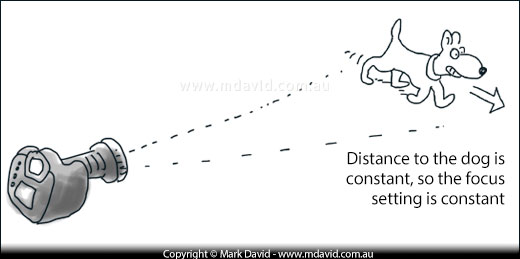
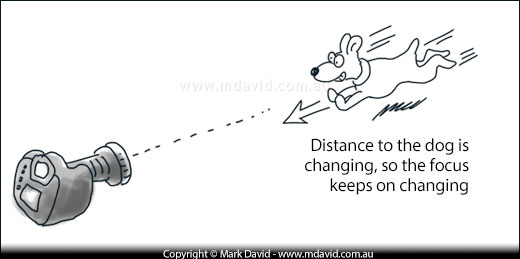
Back in the old days, we photographers used to manually do the job of focusing, by
turning the focusing ring (a band that goes around your lens). And sometimes I still
prefer to focus my shots that way. But most of the time, our cameras and lenses work
together to automatically do the focusing for us, so the parts of a scene you want
come out looking sharp. That kind of focusing adjustment will always depend on how far
away your subject is.
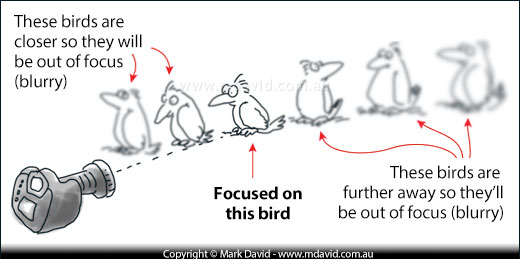
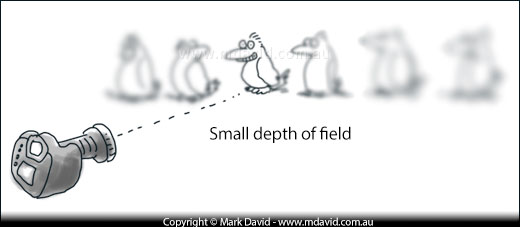
The next graphic, with the line of birds, shows an example of focusing on something. This is the most
obvious way of having some things looking sharp and other things looking soft.
Depth of field
Another way of making things look soft is due to a thing called depth of field.
Depth of field is related to the fact that when you focus on something, there’ll
be stuff in front of it and behind it that will look soft while the subject will
(hopefully) look sharp.
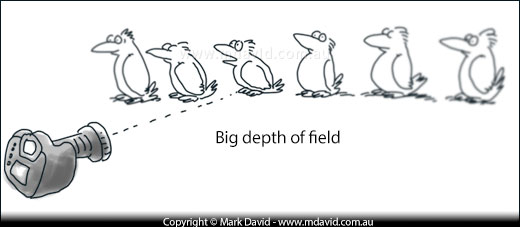
If you’ve got lots of stuff spreading a long way out from your subject,
behind and in front, that looks sharp, then that’s a big depth of field.
So you can think of depth of field as the distance between the nearest and furthest
things looking sharp in your photo. If you’re not focusing directly on something,
then how soft (out of focus) it is will depend on how big your depth of field is.
Motion blur
Motion blur is another way of making things look soft.
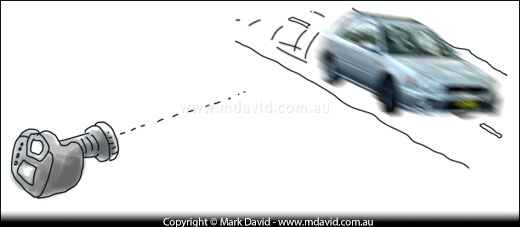
This graphic shows how a car would look if you had motion blur. It’s
easy to figure out how much too. For example, if a car moves 12 inches while the shutter’s
open you’d end up with a photo showing the car smeared 12 inches along the road.
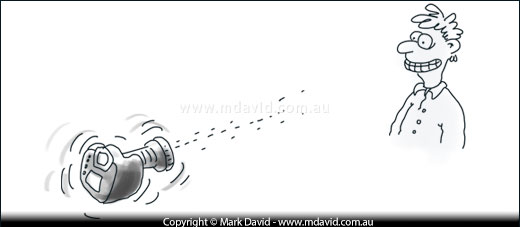
Motion blur doesn’t only come from a moving subject either. Moving the camera
during an exposure will also result in motion blur. In the example here, even though the subject
was standing very still with the camera focused on him, the photo of him would come out
looking blurry from camera shake blur.
Summing up
These aren’t the only way that things can come out blurry but they’re
the most important ones to know. When you understand the differences between these
types of blur then you’re in a much better position to launch yourself into my
getting started guide.

Making sense of technical stuff

Common problems and their solutions

Taking things further


