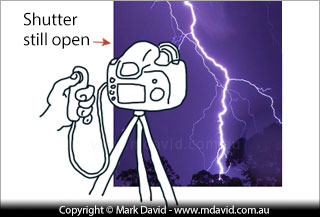
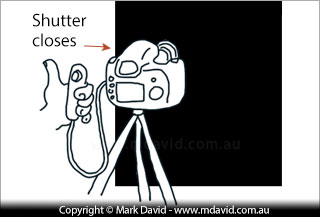
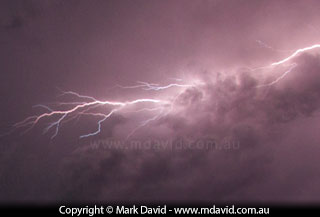
Lightning can produce spectacular images. Here’s how to take a photo of it.
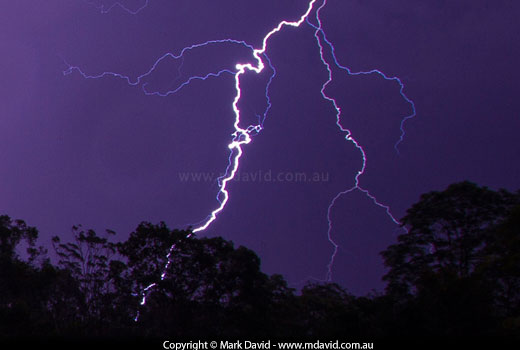
This photo and the other lightning shots on this page have
been heavily cropped, which is why the lightning looks so close.
Play it safe
Getting good night time shots of lightning is easy. Just make sure the lightning
can’t get a good shot at you. The surprising truth is that if you can hear
thunder then you’re likely to be within striking distance!
Standing under a tree is especially dangerous during a thunderstorm. But I
won’t say too much more about lightning safety because there’s already so much
good info online. For example, here.
So your first priority is be to where lightning can’t get to you.
The setup
Here’s the setup I use for the folks who want them in a hurry, and then I’ll
explain it all.
- Tripod and cable release
- wide angle lens
- Bulb mode
- ISO 100 for fork lightning, or ISO 200 for sheet lightning a long way away
- f/5.6
Tripod
You’ll need a tripod or some other way of keeping your camera still during
long exposures.
Cable release
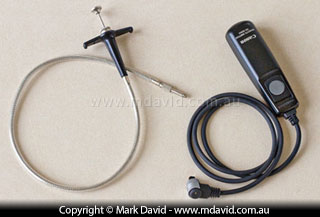
Mechanical (left) and electronic (right) cable releases. You’ll
need to check which make and model works with your camera.
You’ll also need a cable release to prevent any accidental jiggling of the
camera while you press and hold down the shutter release button.
Lens
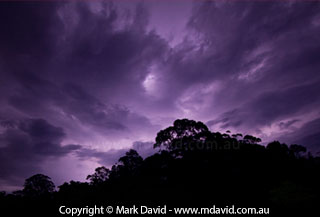
I almost always use a wide-angle lens, to capture the biggest possible expanse of sky.
So if you have a zoom lens then I’d recommend zooming out as far as possible to see as much
sky as possible. A longer focal length might be okay if the storm’s a long way away but otherwise
it can be impossible to know where to aim it, since lightning is so unpredictable.
Focusing
This can be tricky at night. In a city, you’ll be able to focus on lights on
distant buildings. In the country, well I guess you can wait a hundred years for
someone to build a city or you can try to focus manually on some distant trees and
then use autofocus to fine-tune the focusing. That fine-tuning will have to be done
during the brief moments when lightning is illuminating everything. So you’ll
need to focus pretty fast and hope for a fair bit of lightning to illuminate the landscape for
that. Otherwise you might be lucky enough to have a focusing meter on your lens. In that case
I tend to focus on infinity.
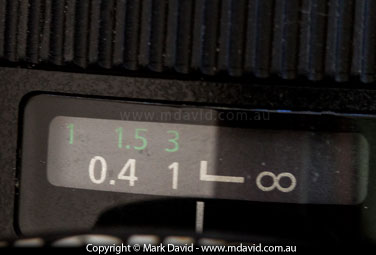
This lens is focused to infinity. I know that without needing to look through the lens
thanks to being able to line the little notch up with the Infinity marker.
Once you’ve managed to focus onto the distance then flick your focus over to
manual and leave it there.
Bulb mode
This is the magic setting that makes it so easy. Bulb mode might be on your camera’s mode
dial (indicated by the letter ‘B’) or it might be one of your shutter speed settings
available somewhere else. What bulb mode means is that your shutter stays open for as
long as you hold the cable release button down.
ISO
I set my camera to ISO 100. That’s because fork lightning is insanely bright, meaning
you don’t need much sensitivity in your camera to pick it up. However, if you’re
photographing some distant lightning through layers of cloud then even though your eyes will be
seeing it just fine your camera will struggle a bit. So in those circumstances ISO 200 will be better.
Aperture
I prefer a big aperture too. I know that in my getting
started guide I talked at length about how a big aperture will give you a smaller depth
of field, and I haven’t changed my mind about that. But in wide-angle lenses (lenses
with a small focal length) then that effect is much less obvious. In fact, when you get
to really wide-angle lenses then it’s possible to get really big depths of field.
So with your wide-angle lens you can open it up to a big aperture without heaps of
stuff falling out of focus. I usually go for something like f/5.6.
Start taking shots
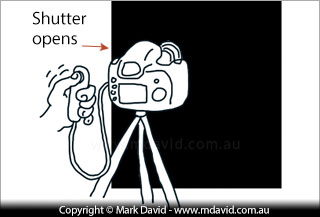
1
Press the shutter button down in your cable release and keep it down!
What you’re doing by holding the button down while in bulb mode is keeping the
shutter open while you wait for some lightning.
After taking your first shot, have a look at the preview on the back of your camera
to see how it turned out. If everything’s too dark then try a bigger aperture
(smaller f-number) or else a higher ISO. If it looks really hopelessly dark, like an almost-black frame
then crank up your ISO to about 400 or higher and then try again. Remember that the higher your ISO settings,
the more your camera is going to brighten up the light it captures. If your test images are too light or blown out
then try a smaller aperture (bigger f-number). It won’t take much experimentation because those
settings I mentioned earlier (f/5.6 and ISO 100) should get you pretty close.
All you have to do is keep running through steps 1 to 3 above. Each time you get a
streak of lightning, let go of the shutter button to end your exposure and then press-and-hold
it down again to start a new one and wait for the next flash. Or you can keep your shutter open for multiple flashes
of lightning to get multiple flashes recorded in the one picture.
It can be easy to overexpose your shots by keeping the shutter open for too long though, especially
if there are lots of milder flashes of sheet lightning happening while you’re waiting for that
one big showy flash. So if, for example, there hasn’t been a decent one for about 30 seconds,
then I will usually stop the exposure (let go of the shutter button) and then start a new one.

Making sense of technical stuff

Common problems and their solutions

Taking things further


